iDEA USB Connection :
You can connect your iDEA pre-amp directly to your PC/Mac using a USB cable (supplied). In this way you can perform file management tasks on the pre-amp - delete files, move files, rename files, create subfolders, check file properties - and can load additional files from your PC/Mac directly onto your iDEA pre-amp. All files must be in MP3 format.
|
|
|
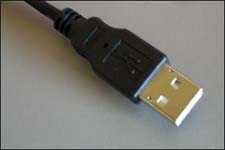
USB Standard Connector A |
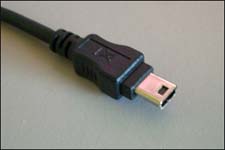
USB 5 Pin Male Mini Connector |
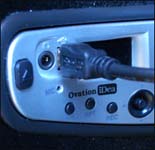
Connection to iDEA pre-amp |
| |
|
iDEA File View on PC/Mac :
Once the iDEA pre-amp is connected by USB to your PC/Mac it will be recognized as a "drive". You can use Finder (Mac) or Windows Explorer (PC) to view the contents of the iDEA pre-amp just as you would any other "drive" on your system. You can only view and access the folder structure containing the audio files. The operating system files of the iDEA pre-amp are not accessible. You do not need to have the pre-amp powered on, or even have an audio cable or headphones plugged in.
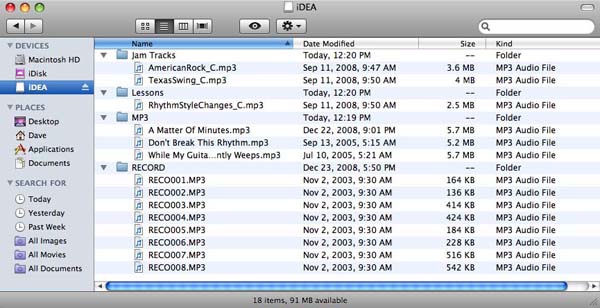
The example shown above is the Finder screen in Mac/OS-X. The iDEA pre-amp is listed as a Device and you can see the folder structure of Jam Tracks, Lessons, MP3 and Record. The Record folder is where tracks recorded live on the iDEA are stored. Your personal folder structure may vary.
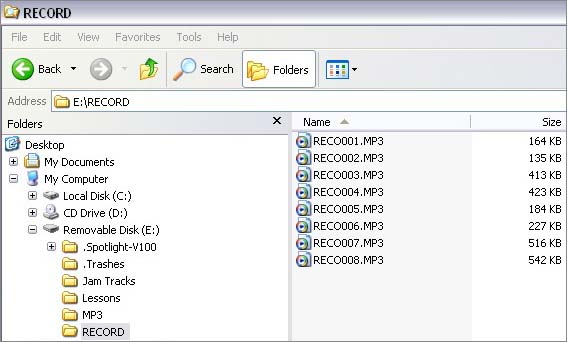
The example above is from the Windows Explorer screen in Win/XP. The iDEA pre-amp is listed as a removable disk (E:). Notice that the file sizes in Mac and PC are slightly different by a KB or so. Interesting. Although the screens appear different between MAC and PC the functionality as far as File Management of your iDEA pre-amp is basically the same.
|
iDEA File Management via PC/Mac :
Managing files on the iDEA pre-amp via USB is no different than managing the files on any other computer drive. Some of the common tasks are:
FILE DELETE - You can delete any audio files.
RENAME - Recorded tracks are automatically named RECnnnn.MP3. You can rename them at will but must keep the .MP3 extension.
CREATE SUB FOLDERS - Organize your tracks by creating subfolders. In the example above I have created folders for my Lessons and Commercial MP3 files.
MOVE - You can move files from one folder to another by drag-drop or cut-paste.
COPY - You can copy files form one folder to another by ctrl-drag-drop or copy-paste.
FILE PROPERTIES - The properties (date, size, type) of each file are shown.
MEMORY STATUS - The bottom of the Finder (Mac) window shows the memory status of the iDEA. On PC you can right click on the drive letter and choose properties display.
|
|