|
| |
Tuner :
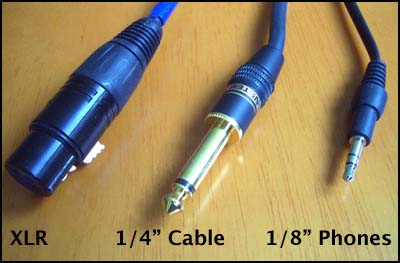
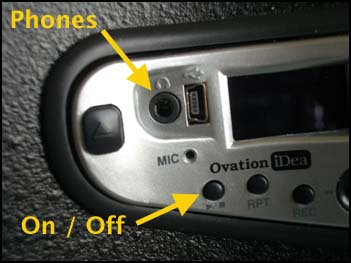
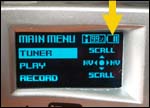
Housed within the iDEA pre-amp is a digital chromatic tuner. The pre-amp must be ON in order for the tuner to be functional (1/4 inch cable, dummy plug or headphones must be plugged into the guitar). From the MAIN MENU menu scroll up or down to highlight  . Click (press joystick IN) or select (move joystick RIGHT) to enter tuner mode. . Click (press joystick IN) or select (move joystick RIGHT) to enter tuner mode.
|
| |
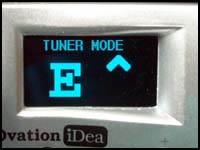
E String - FLAT
|
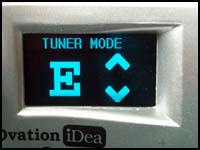
E String - IN TUNE
|
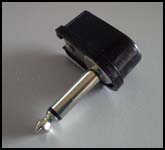
Dummy Plug
|
Pluck a string and the display will indicate the nearest note name. Tune UP or DOWN to reach the desired note name. Once close, the display will indicate an UP ARROW if you are flat and a DOWN arrow if you are sharp. Fine tune until BOTH the UP and DOWN arrows are equally shown.
MAIN MENU > TUNER > SELECT
|
|
Pre-Amp Controls :
The guitar pre-amp controls of the iDEA work identical to other Ovation pre-amps. The unit consists of a Volume Slider and a 3-band Equalizer which control the output to the 1/4 inch or XLR jack. With the Volume slider moved completely to the minimum (down) the pre-amps output is completely muted. Moving the Volume slider UP will continuously increase the output volume. The 3 band EQ controls the balance of Bass, Midrange and Treble. The center line of the slide path indicates the "flat" setting. |
|
| |
|
|
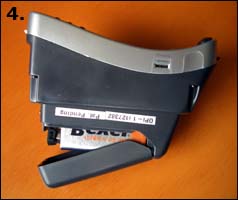
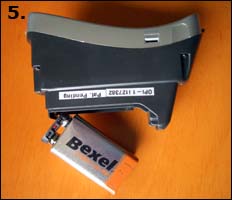
Changing The Battery :
|
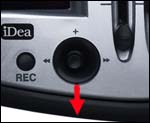
The iDEA pre-amp is power by an internal 9V battery. The remaining battery life can be read by the segment icon on the LCD display (similar to a cell phone). When the battery reaches its minimum power segment, or when you hear audible distortion or loss of volume, replace the battery with a fresh alkaline 9V battery following these steps:
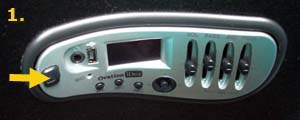
1. Press release button on left side of pre-amp face.
2. Remove pre-amp from the guitar housing left side first
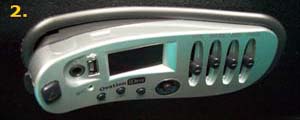
3. Completely remove the pre-amp fro the guitar
4. Slide open the battery cover
5. Remove and safely discard the old battery
6. Install the new battery and replace the battery cover
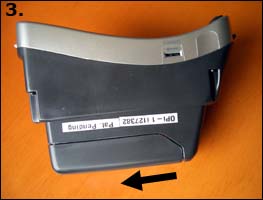
7. Insert the pre-amp into the guitar housing right side first
8. Insert and depress the left side until the release catch snaps into place
|
|
|
|
| |
|
| |