|
|
Joined:
September 2012
Posts: 815
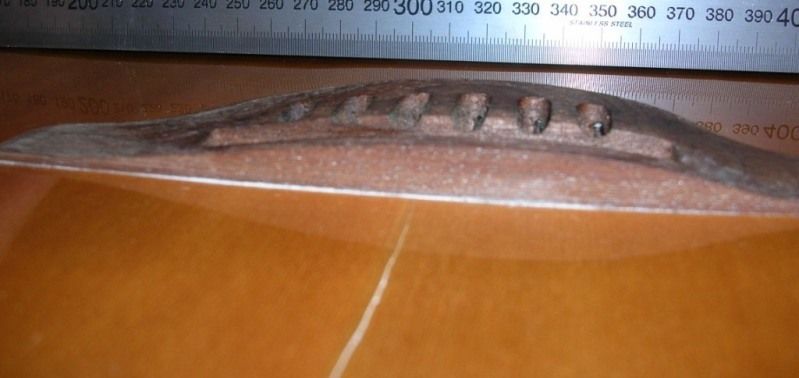
Location: Thredbo, NSW, Australia | I did this repair a year or so back, and have finally gotten around to documenting it. (I hope this works!) When I bought the guitar it was a wall hanger. Completely unplayable. As you can see from the first two photos the top had caved in and split above the bridge. 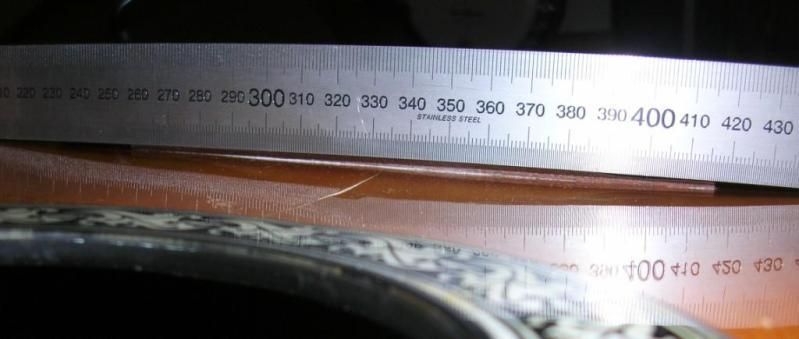
I purchased a USB endoscope for about $20 to see what was happening inside. Both of the main X braces were broken and another brace had lifted. Someone had tried to repair it, but they failed. 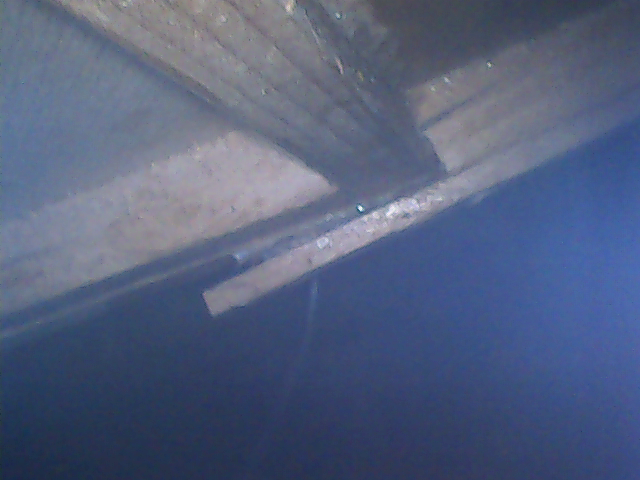
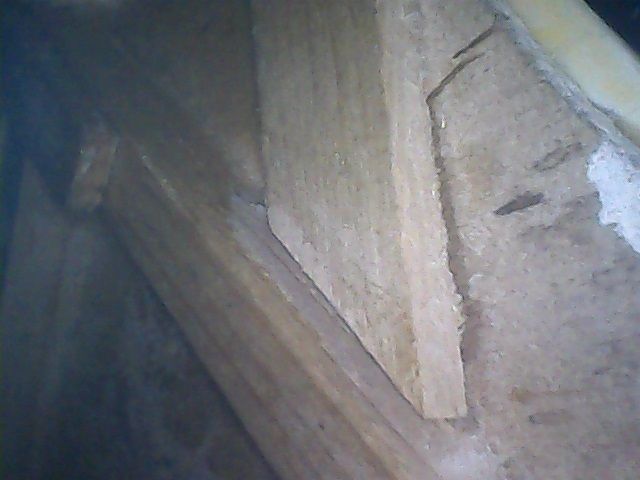
Here's the soundboard from inside. You can see some light through the crack. 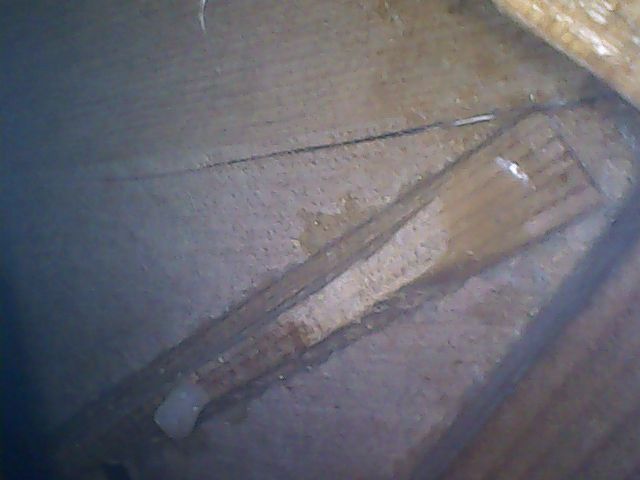
Here's a diagram of the damage. 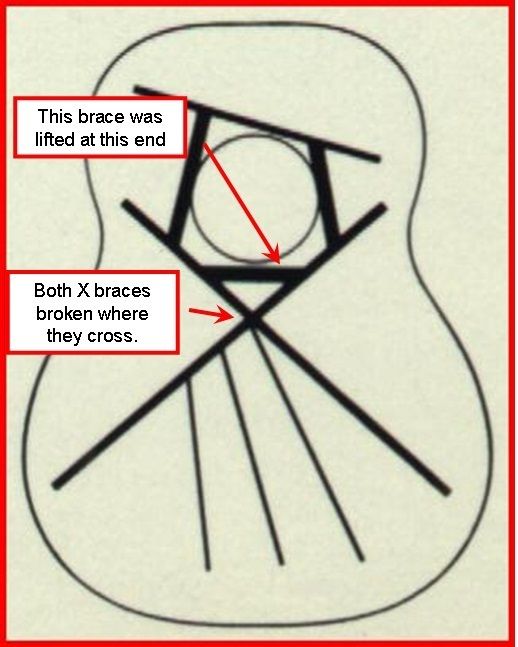
It took me a few weeks to decide how to do the repair. I figured it was going to be too difficult to remove the old X braces, so I decided to make some new ones and place them on top of the old ones. Plus clean up what I could and fix the loose brace. Here's another diagram showing the planned repair. 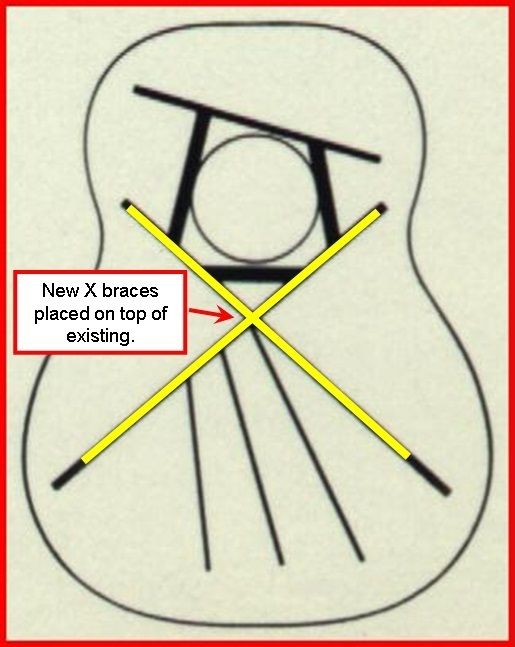
|
|
| |
|

Joined:
September 2012
Posts: 815
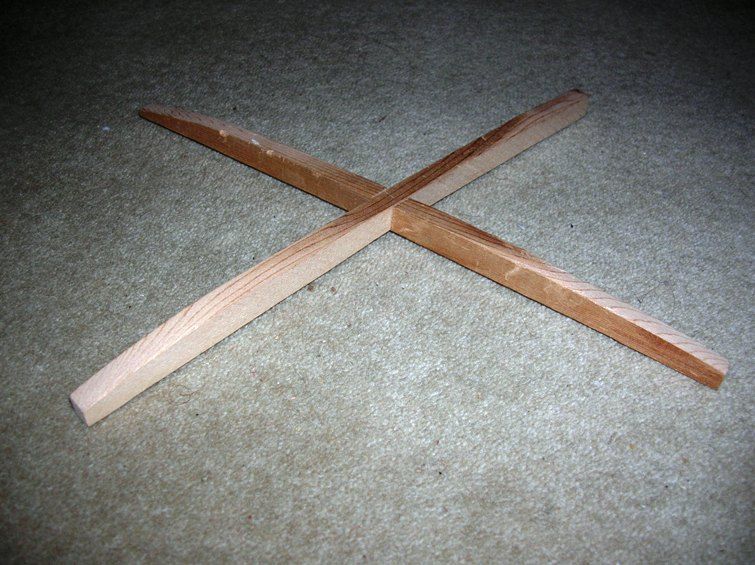
Location: Thredbo, NSW, Australia | I made some new braces, but they had to be concave on the side going against the old braces. So I made a jig to allow me to use my router to shape them.
It's a bit hard to see from the angle of the photo, but the jig had a metal bar that the router bit would follow. I placed a screw in the centre that allowed me to adjust the curve in the metal bar.
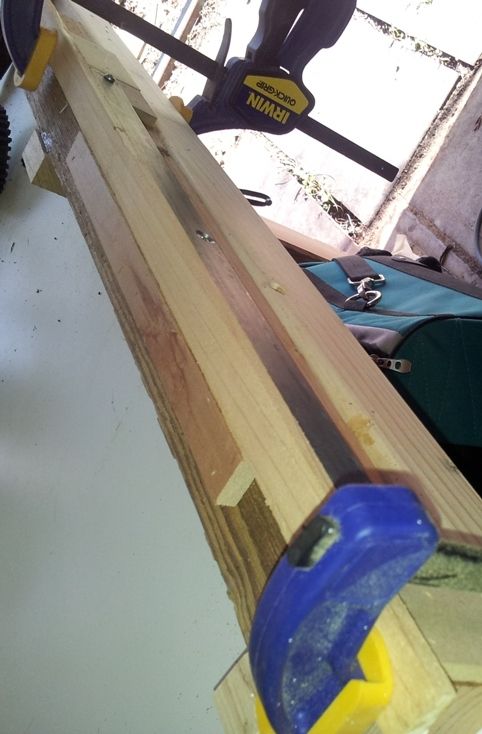

This worked well and with a few runs with the router the new braces were shaped so that when clamped they'd be a snug fit with the old braces.
Here are the braces ready to go.
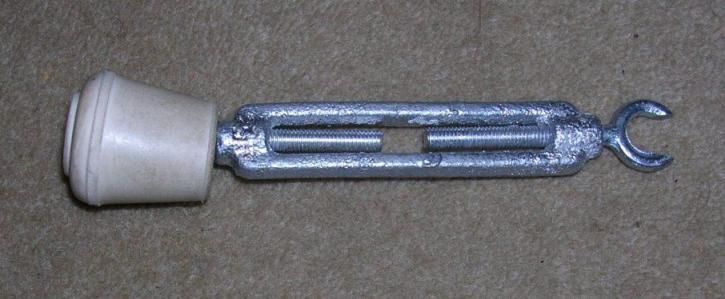
I needed a clamp of some sort so that I could hold the inside edge of the brace in place while the glue dried. I bought a small turnbuckle cut one end to make a U that would fit over the brace, and placed a rubber from a stool over the other end.
Here's the turnbuckle in place.
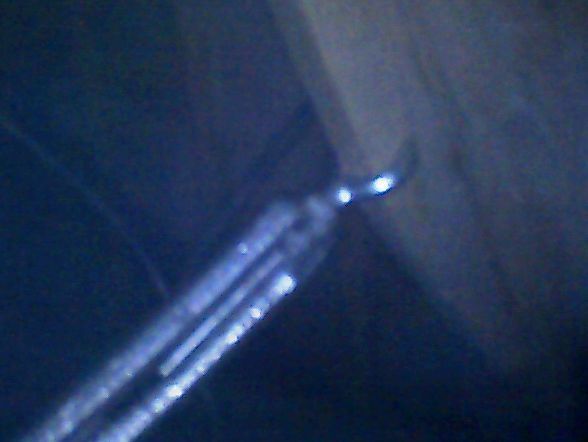
I used Titebond and glued in the first brace, I gave the a few days and glued in the second brace. After another few days I removed the clamps and pressed on the soundboard. All was good. |
|
| |
|

Joined:
September 2012
Posts: 815
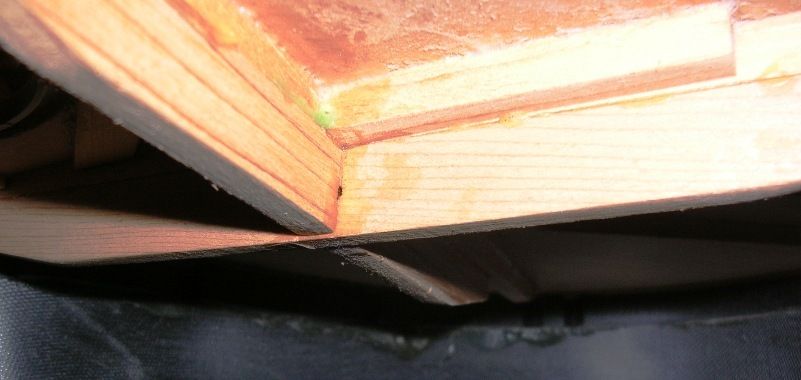
Location: Thredbo, NSW, Australia | Using the USB camera again I had a look at the crossing of the X braces.
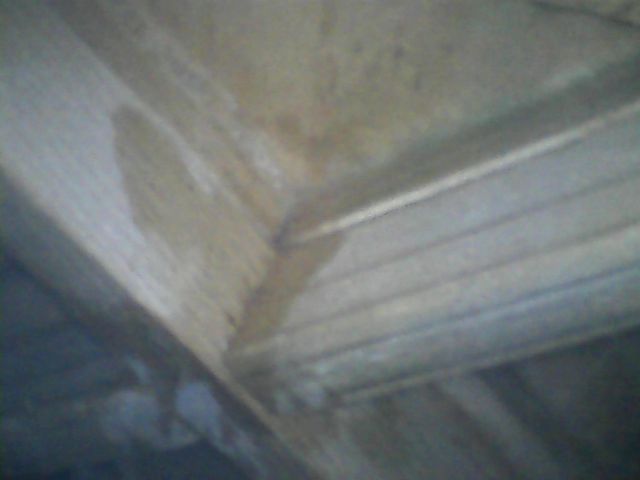
The repair looked fine. Here's another photo with a better camera.
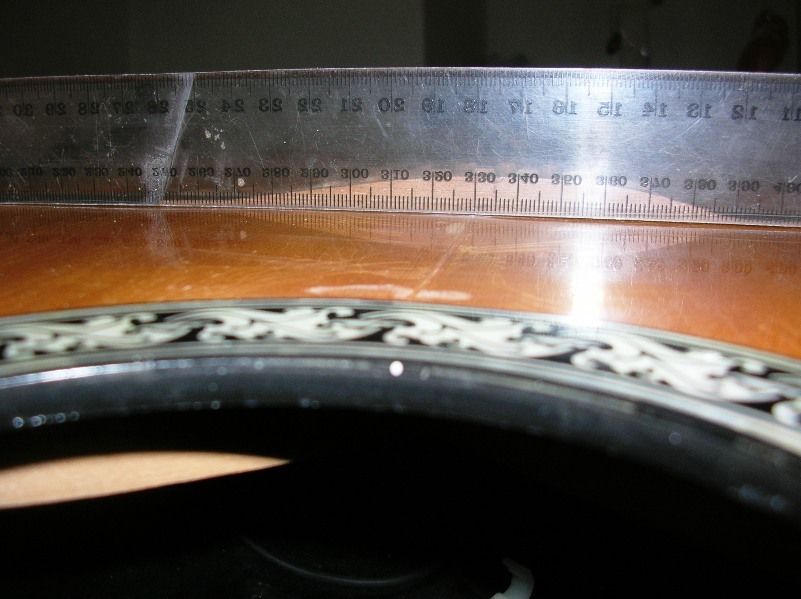
Here's another photo of the soundboard, and although it's not perfect it's much better than before.
I strung it with some silk and steels, tuned it up and played it. To me it sounded fantastic, but I would like to compare it to Muzza's Folklore.
Anyway, it was over a year ago and the repairs have held and it continues to sound fantastic. |
|
| |
|

Joined:
June 2012
Posts: 2345
Location: Pueblo West, CO | Nicely done, Paul. |
|
| |
|
Joined:
October 2012
Posts: 1093
Location: Yokohama, Japan | Excellent work and documentation BanjoJ! I'd have never thought of doubling up on the X-braces. That's a great idea. From what I've heard of the legendary Folklore's, they are all worth salvaging regardless of their condition. I hope I come across one over here one of these days. Thanks for sharing! Any possibility of a video? |
|
| |
|

Joined:
September 2012
Posts: 815
Location: Thredbo, NSW, Australia | arumako - 2016-05-20 2:37 AM
Any possibility of a video?
Thanks guys.
Now I know how to document these projects I'll document the OpPro installation I'm currently doing on the Folklore.
I'm in the middle of fixing up dings in the front with CA. When it's back together with the OpPro installed I'll try and get a video. |
|
| |
 1982 1614 Folklore Repair


