| The Ovation Fan Club | ||
| ||
| Random quote: "One good thing about music, when it hits you, you feel no pain." - Bob Marley |
 A little DIY...probably more realistic than most DIY's too! A little DIY...probably more realistic than most DIY's too!
| View previous thread :: View next thread | |
| Members Forums -> General Posting | Message format | |
| Patch |
| ||
Joined: May 2006 Posts: 4239 Location: Steeler Nation, Hudson Valley Contingent | So... Someone asked me how I plugged in my new Martin, and I said that was a topic for a different thread. so here it is. Call me brave. Call me stupid, Trust me, I've been called worse. But I knew from the purchase date that I would put a pick-up in this instrument. I purchased a spanking new Fishman Matrix Natural I, a couple of items I needed, and impatiently waited for a few free minutes. Here's how it went... I drilled the right-sized hole in the right place through the bridge, then threaded the pickup through. 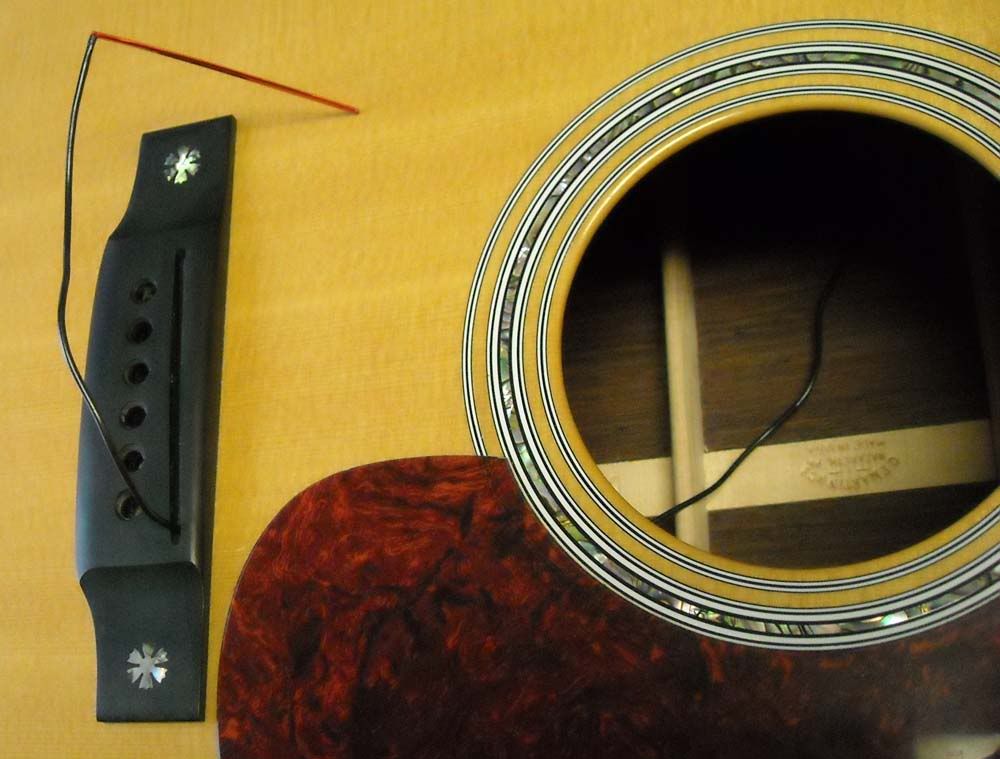 I pulled the end-pin and then took out one of the scariest looking tools on the planet. (It's a good thing Sharon Stone didn't find one of these in that movie.) 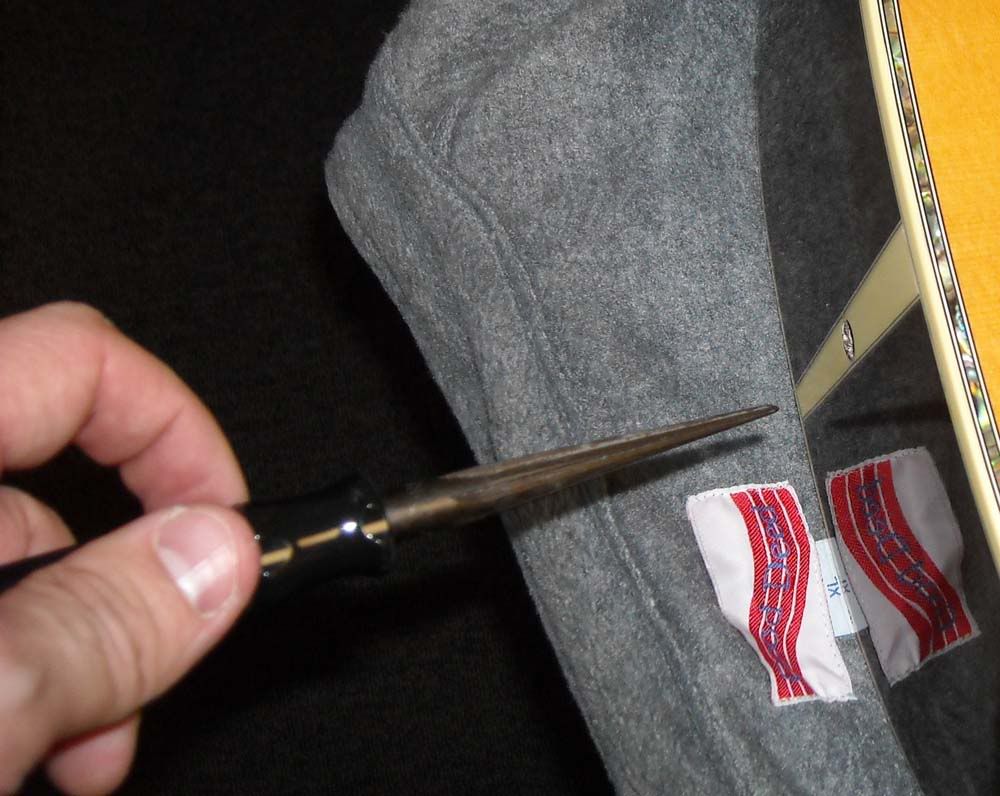 A little patience, a little grunt....a little more grunt...and the critter's driven home. Slight problem though; the shank wasn't long enough to ream an even hole through the end block.  It took a power drill and a LOT more patience to carefully widen the hole. But eventually, one of the test fits passed inspection. 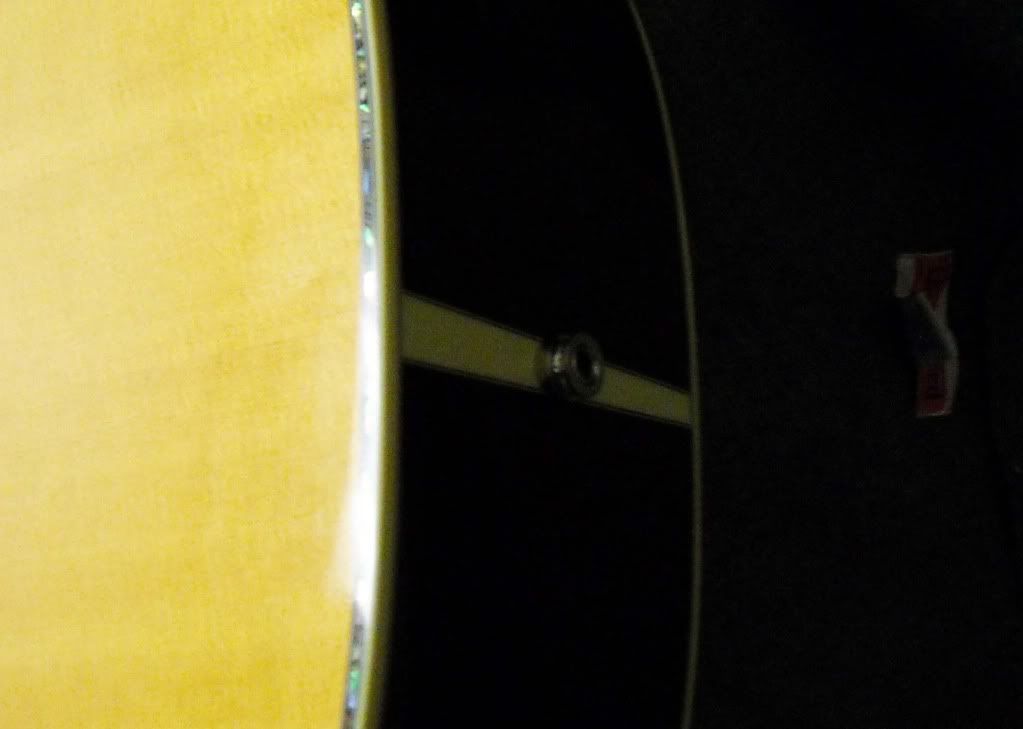 Solder the battery leads to the board, and screw the cover back on. 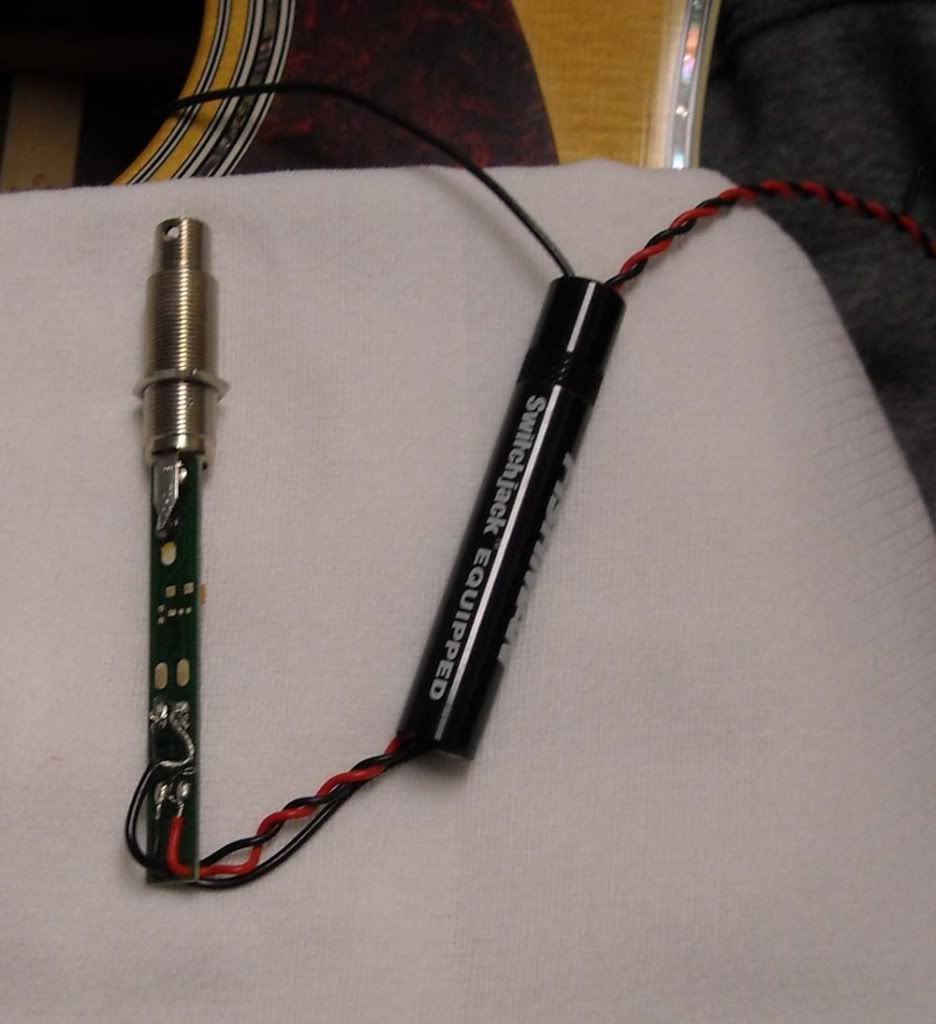 Put the handy, provided clips around the interior edge to take up the wire slack and place the sticky-backed velcro battery pouch next to the neck block. 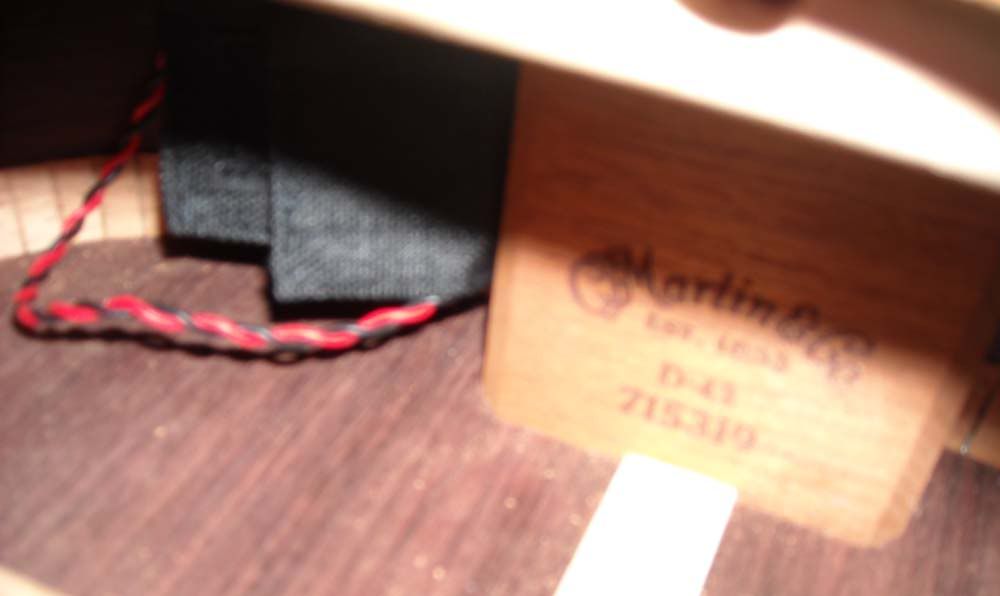 String it back up and... Hey presto! It doesn't work! (Insert a variety of colorful expressions because I was out of time.) I told you this thread was more realistic than most. I had the whole weekend to think it through before I had a chance to look at it. A little trial and error later, I swapped the wires I had soldered, and it works just fine. I may be intellectually challenged/careless when it comes to wiring, but I'm intellectually challenged with a darn nice-sounding Acoustic-Electric Martin D-42! :D | ||
| |||
| noah |
| ||
 Joined: December 2004 Posts: 1673 Location: SoCal | There ya go... Professionally Installed! Patch, if you need a strap lock that works on the end-pin jack, email your address. 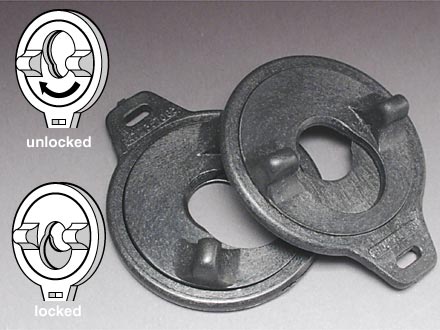 | ||
| |||
| Beal |
| ||
Joined: January 2002 Posts: 14127 Location: 6 String Ranch | I always drill the hole on the bass side. | ||
| |||
| Old Man Arthur |
| ||
Joined: September 2006 Posts: 10777 Location: Keepin' It Weird in Portland, OR | by Beal: Okay... I gotta ask "Why?" I always drill the hole on the bass side. Better chord placement? | ||
| |||
| seesquare |
| ||
Joined: November 2002 Posts: 3666 Location: Pacific Northwest Inland Empire | Nope. That's a neck function. | ||
| |||
| Old Man Arthur |
| ||
Joined: September 2006 Posts: 10777 Location: Keepin' It Weird in Portland, OR | Okay... Better CORD placement! | ||
| |||
| Auriemma |
| ||
Joined: October 2008 Posts: 639 Location: NW of Philadelphia | Patch... after playing it amplified, would you recommend it for my OM-1? | ||
| |||
| Patch |
| ||
Joined: May 2006 Posts: 4239 Location: Steeler Nation, Hudson Valley Contingent | Hiya Joe, Sorry I didn't answer you yet on the AGF, but I only tested it on my little Dean practice amp. It's only 20 watts and showing some age, and it tends to feedback with even the best pre-amps. So, on admittedly very low gain, I have to say the sound is quite good. Certainly up to the standards I need for church and the occasional volunteer gig. The only negative I've discovered is that medium D'Addario PB's don't sound as nice on a Martin as they do on an Ovation. They're WAY to bright! I'll give you a better answer once I've plugged into something decent. :) | ||
| |||
| Auriemma |
| ||
Joined: October 2008 Posts: 639 Location: NW of Philadelphia | Thanks. I can wait a bit. I look forward to hearing about what you find. | ||
| |||


| Jump to page : 1 Now viewing page 1 [25 messages per page] |
| Search this forum Printer friendly version E-mail a link to this thread |
| This message board and website is not sponsored or affiliated with Ovation® Guitars in any way. | |
| (Delete all cookies set by this site) | |