Hello OFC,
Saw oldbrodave's "Glue type" thread and thought another glue to bolt-on neck thread was in order. My CC247-GS thread is now defunct due to the change in Photobucket's 3rd party hosting policy. I've since moved over to Flickr where I'm enjoying free 3rd party hosting again (for however long it lasts anyway...); so here it goes! A friend of mine brought in a CC257-YB in need of some serious repairs including a neck reset. I really like the understated finish and the flamed sound board on this one. The SSB configuration proved to be a challenge, but I went ahead and decided to convert the neck from a glue-on to bolt-on configuration... 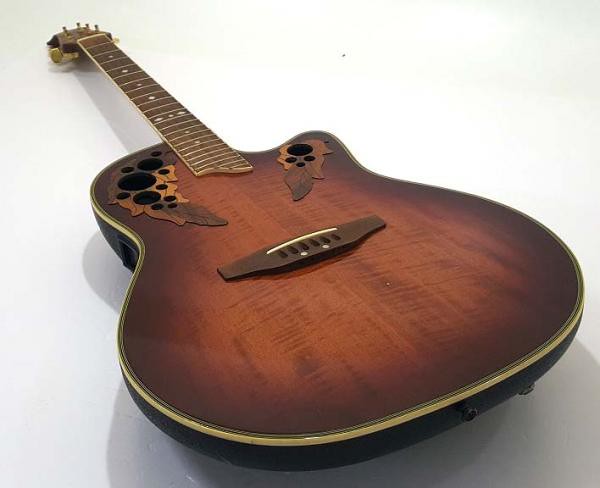
The repairs needed were three-fold:
1). Repair cracked head-stock
2). Reset neck and convert to bolt-on
3). Misc. clean-up/maintenance... 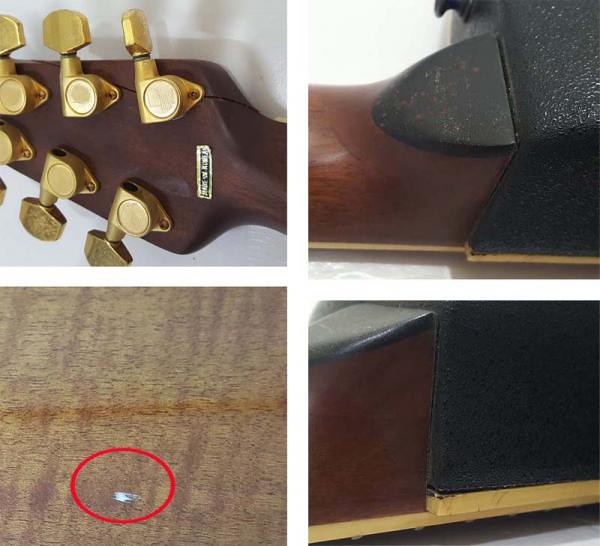
First, the neck was removed using my zip-lock bag trick. Since my CC247 Project, I've come to realize that injecting 50~100ccs of boiling water is way less water than steaming a neck off, and is faster and mre effective. Since the Os have a fiberglass bowl, there is no need to worry about warping the back and sides... 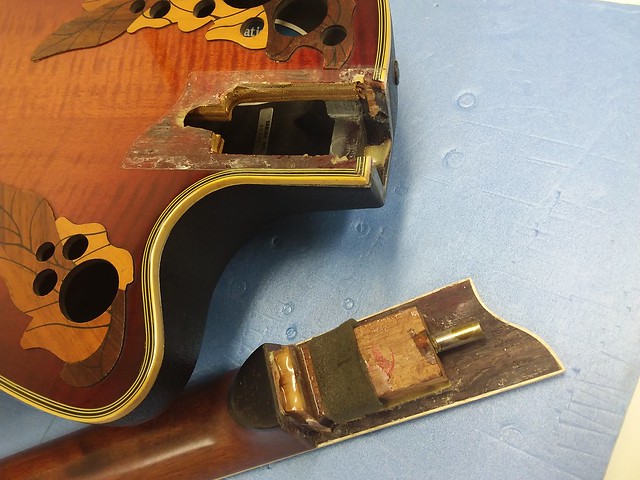
The neck failure also caused portions of the top to crack and peel upward. These laminated Celebrities are prone to this kind of failure when the guitar endures severe temperature changes. 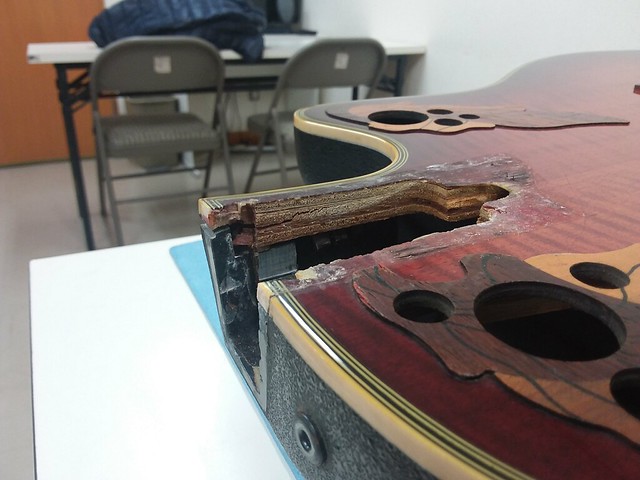
A drop caused the head stock to completely crack off... 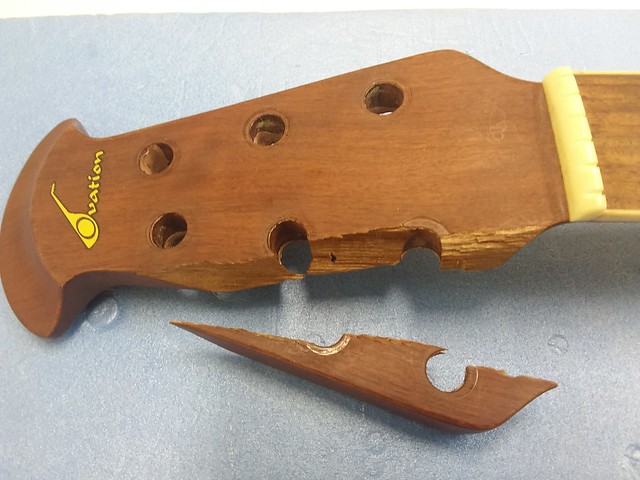
Dove in from the head stock first. Used Titebond for this joint, but first applied a very light coat of water on the areas to be joined. Also, diluted the Titebond with 1 part water to 10 parts Titebond (mixed well) and brushed it on to the joint over the lightly applied water. Learned this from a Japanese Luthier. Alghough it thins out the Titebond, apparently it makes the adhesive more viscose and seep into the pores of the wood. When it all dries up the bond is strong, but it will not hold up to high heat exposure. 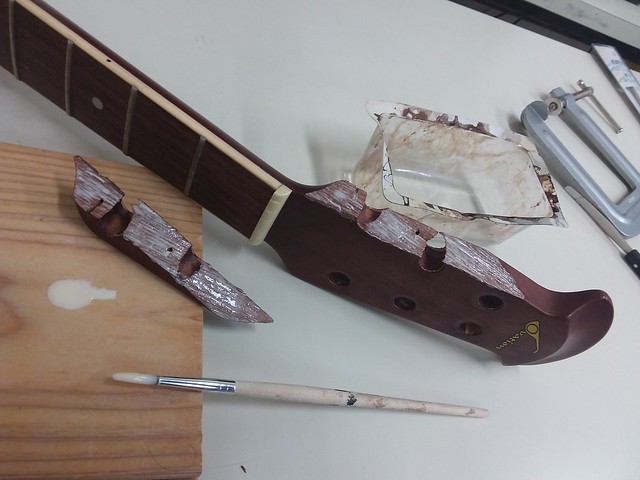
The clamp was applied for 24 hours. Continued to work on repairing and prepping the neck joint on the body of the guitar. Used the same method to get plenty of Titebond into the crack and clamped them down... 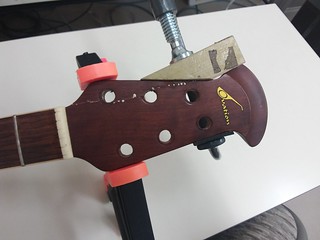 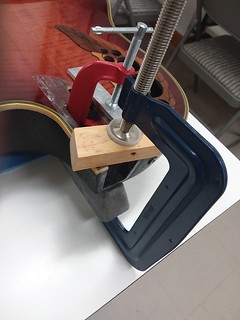
Applied some 120 grit sand paper on a perfectly flat aluminum bar using double-stick tape, and prepared the body neck joint to be perfectly flat... 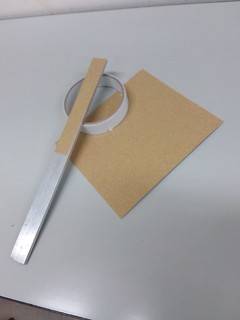 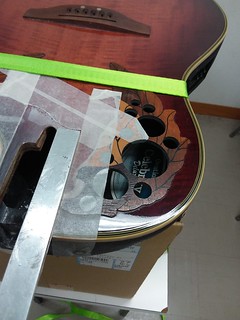
By carefully sanding with even measured strokes it doesn't take long to get the area completely flat and ready to host the fingerboard extension... 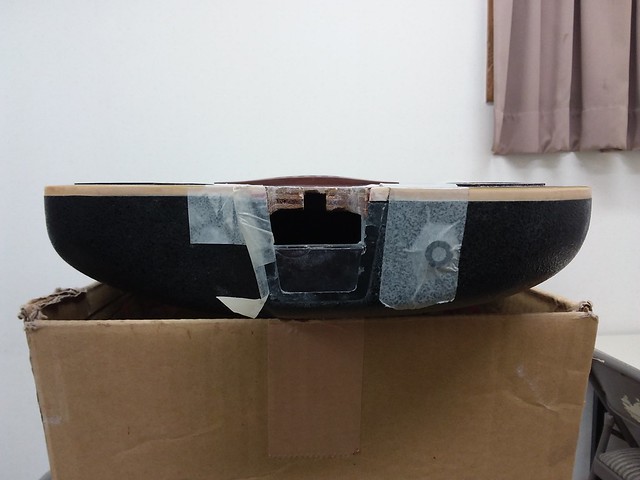
After cleaning up the neck heel and neck joint, it was very apparent that there was not enough room to convert this heel to a bolt-on neck. Needed to make a heel extension if this was going to work. The bolt & insert needed to be as small as possible, and there will be room for only 1 bolt. Used some nice Birch that I cut from a hockey stick to make an extension... 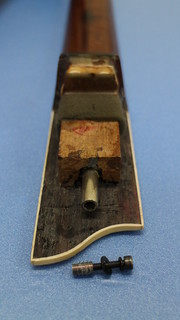 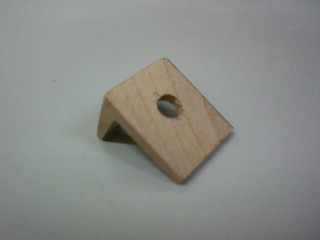
Used my bolt-on neck drilling jig. Made one for Mid-Depth and one for Super Shallow. This one's obviously for SSB. The jig enables me to drill holes accurately into the neckand the bowl... 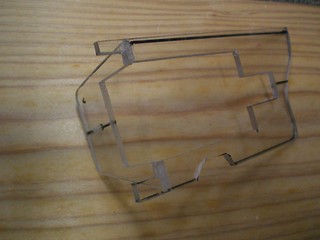 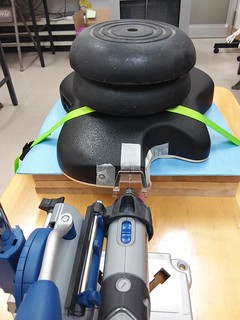
Once the hole is drilled, Hysol 9462 is applied in the drilled hole. It acts as a lubricant and enables the insert to screw in smoothly. The neck heel needs to be clamped perfectly to ensure the heel doesn't crack while screwing in the insert. Hysol 9462 is then applied to the Birch extension and the extension is put into place. Once the insert and extension are in place the bolt is screwed just a few threads into place (shallow) to ensure alinement. Small adjustments can be made by tapping on the bolt tip very lightly. 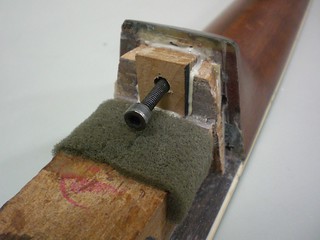 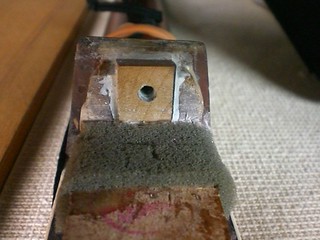
Clamp and wait for 24 hours and trim the excess adhesives and carefully remove the bolt. Once 48 hours passes, Hysol 9462 gets really really hard and removal of the bolt maybe jeopardized. At 24 hours, Hysol is soft enough to trim and maintain the integrity of the shape of the threads for easy bolt removal and application. After bolt removal wait another 48 hours (a total of 72 hours). After checking the break angle of the neck joint the neck is assembled to the body. To glue the finger board extension to the top, I used Z-Poxy 30-minute Epoxy. Works well for adhering parts that are not high-stress joints. I love my doorstop jig. It's hardness/softness is perfect, and angled to fit the bowl! Once the neck is in place, the bolt is installed and finger tightened. 
After 48 hours, the bolt is then tightened to ensure the heel is flush and the neck secure. For this small 4mm bolt I had to wrap rubber band around my allen wrench driver. Still needed to clean up the head stock. Some light sanding with 120 grit sand paper; then, I used Z-Poxy's filling resin to fill in any gaps. 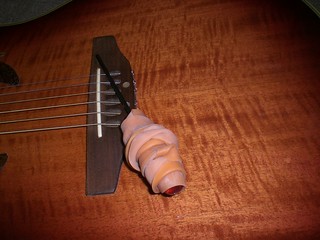 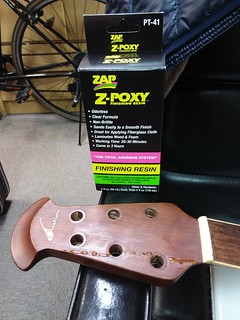
Waited another 48 hours and used scraping and wet sanding to bring down the bumps left by the filling resin until everything was smooth. Can't polish it to a gleaming luster otherwise the rest of the head stock will look funky. Finally, I used some automotive waxing compounds to take off nicks and dings. This Holt's stuff works great on any polyurethane finish. Not so good for lacquer and shellac... 
The CC257-YB is to the left. My CS249-4Y and CC247-GS are center and right respectively. All three guitars are glue-on to bolt-on neck conversions. 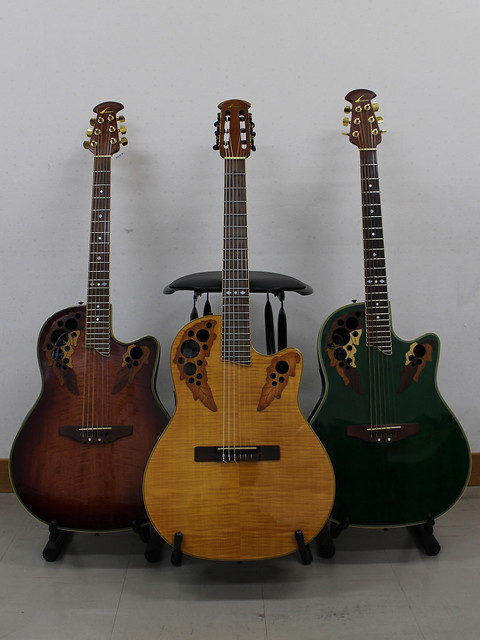
Incidentally, the CC257-YB is in great shape - low action and very easy to play. Actually, it doesn't sound like an SSB at all anymore. Our OFC-Japan (well, within my local vicinity anyway, I cannot attest to represent all O fans in Japan!) buddies all think it's the best sounding super shallow Elite style Celebrity they've ever heard; so, that's a really nice compliment. Regardless, it just doesn't get the low-end rumble and mid-range punch that an 1868 gets. Still curious to see what would happen if the bracing pattern was converted to a pure Quintad pattern by removing the cross brace from the so called Asia only "K-3" bracing pattern. Also, the Mid-Depth glue-on to bolt-on conversion requires two bolts. My CS249-4Y conversion is posted in this thread here: http://ovationfanclub.com/megabbs/forums/thread-view.asp?tid=48161&posts=40&start=1 Hope this information is helpful to somebody out there. Thanks!
Edited by arumako 2018-05-05 11:07 AM
|  '95 CC257-YB Glue-On to Bolt-On Neck Conversion
 '95 CC257-YB Glue-On to Bolt-On Neck Conversion